Create a task#
Creation#
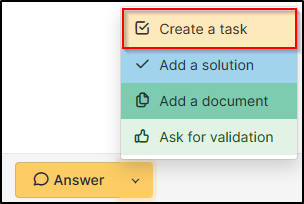
Enter the ticket that requires a task to be added. Click on
answer >
create a task (or on create
tasks directly depending on the configuration of your interface):
or

Add a follow#
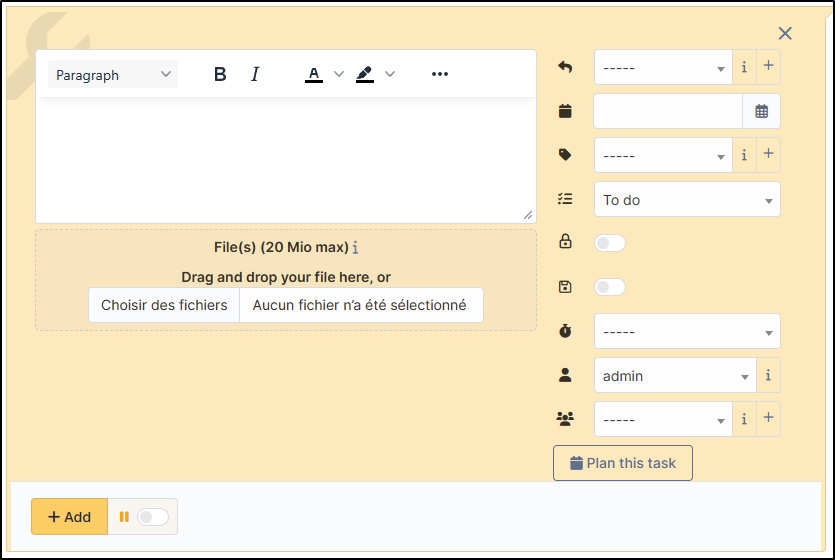
As with tracking, you have a text field to indicate the nature of the Task. You can define whether the Task will be public or private. What differentiates the Task from the Tracker is its right-hand menu.
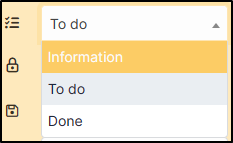
Type of task#
This will allow you to define the status of the Task when it is added: Information / To Do / Done.
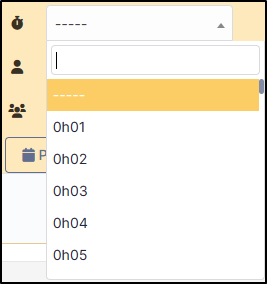
Execution time#
GLPI lets you define its execution time (this data can be modified later):
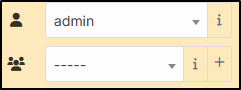
USers and groups#
You can define which user or group will be assigned to this Task:
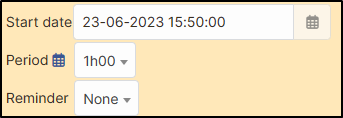
Planning#
As mentioned above, the best thing about a Task is its scheduling. To do this, click on the Schedule this Task button, which will display the scheduling options.

Duration#
You will be able to set a date, start time and duration for the Task. Click on the icon on the right to unfold the calendar:
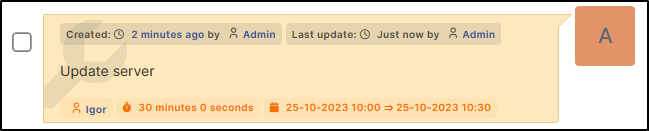
Save#
Once you have entered your details, click on the Add button to save the Task.
Unlike Follow-ups, when adding a Task, you can only select a status for Tickets, the choice of status is not available for Problems and Changes. The ticket will automatically change its status to processing (planned).