Android smatphones inventory#
In this article we will see how to inventory an Android mobile quick and easy with GLPI Agent and the Agent config plugin.
This requires GLPI inventory plugin installed and activated (in the Configuration> Plugins menu).
Plugin Agent Config#
In GLPI, in your list of Plugins, you will find Agent config.
This plugin allows you to facilitate the inventory of mobiles by configuring in advance the values to enter to configure the agent.
This plugin will allow you to be scanned via QRcode or a DeepLink to quickly integrate your mobile into your inventory.
Once the plugin installed and activated, go to the configuration.
In the Configuration tab of the GLPI Agent, we must configure at least:
- The URL of server, example: mon.glpi.fr/GLPI inventory/
- Identifier
- Password
Once this data has been entered and saved, the QRCode or Deeplink functionalities will allow you to inventory your smartphones.
GLPI agent for Android#
The GLPI agent is an application available on Google Play. Once downloaded and installed on your smartphone, we will be able to configure the agent to start inventory of the equipment.
- In the application, go to the settings by clicking on the
 .
Open the server list.
 - In order to configure new server, click on the button
 .
.
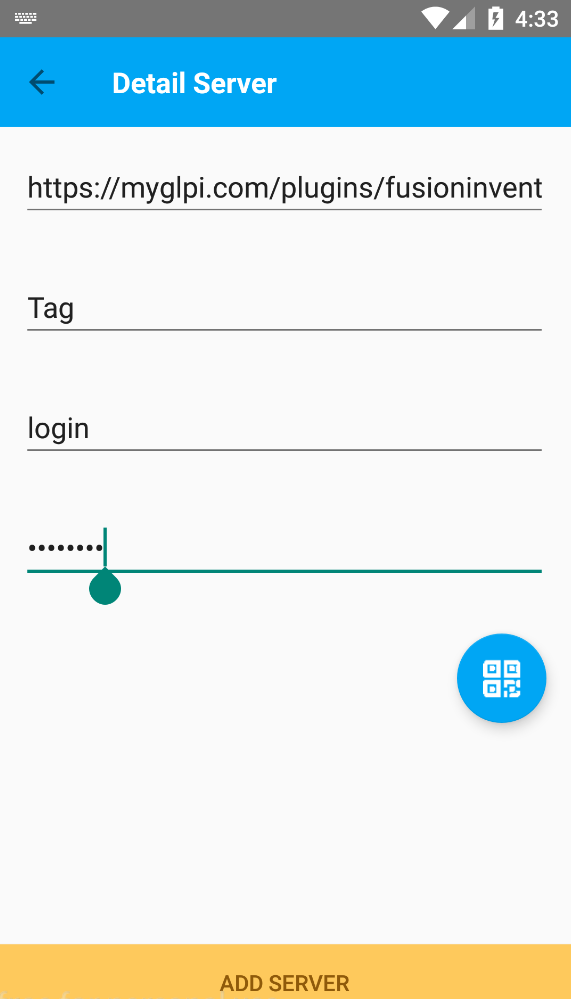
You will be redirected to the server configuration page asking you to enter all the authentication data.
Thanks to the Agent config plugin configured previously, we do not need to enter information because the features of QRcode and DeepLink allow you to fill in the fields automatically.
QRcode#
- For the QRcode, find the
 . By clicking on it, you will arrive on the scan interface.
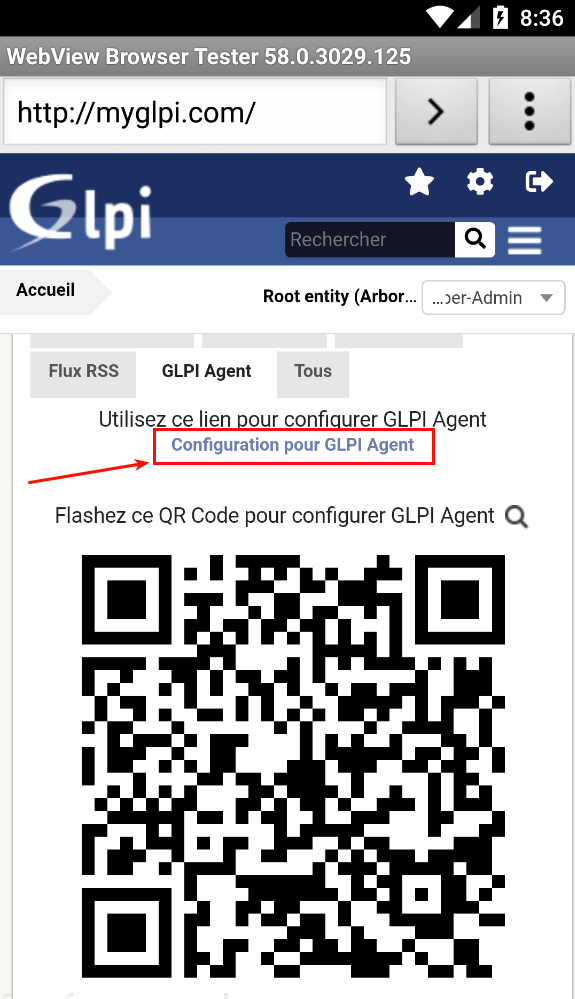
 - Scan the QRcode available on your GLPI web interface on the home page.
- Save the configuration entered automatically to validate the server.
DeepLink#
- Go to your GLPI via web browser on your smartphone.
- In the GLPI Agent tab of your GLPI home page, click the Configuration link for GLPI Agent.
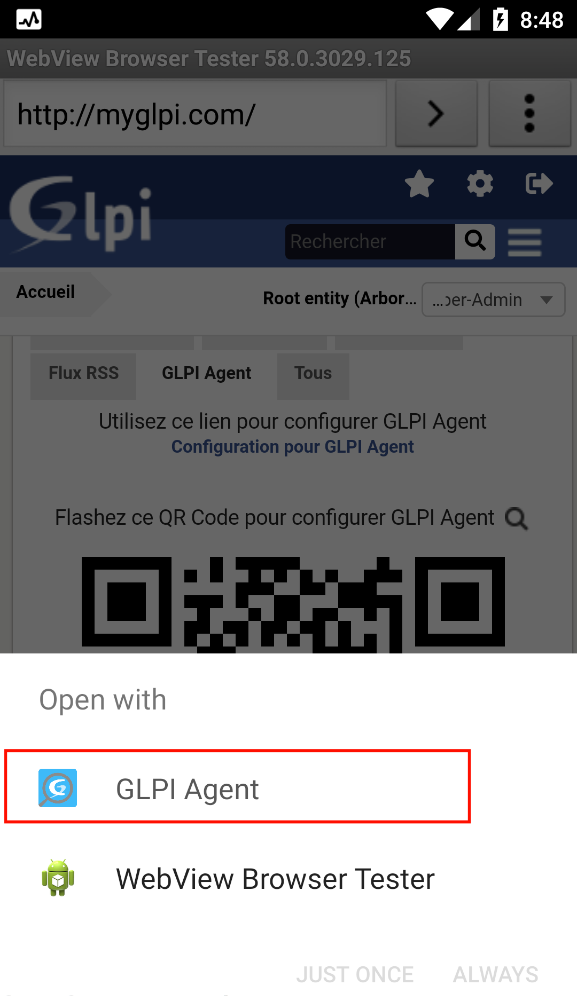
- Your smartphone will ask you with which application you want to open this link, choose the GLPI Agent application.
- You just have to save the configuration to add the server.


