Receiver and delegating mailboxes#
If your receiver uses delegated mailbox, follow these steps to configure it.
Info
This case applies to accounts using Azure AD and Gmail
The principle is to create your authorization from Oauth IMAP plugin on the main account and then, modify this authorization to identify the delegated account. To create the receiver via an Azure account, please refer to this article :
If your receiver is already configurated on the main account, follow these steps to modify it by the delegated mailbox :
- Go to
Setup>Oauth IMAP applications>Oauth authorizationtab of your OAuth IMAP - click on
update
- Enter the delegated mailbox
- Valid your modification
- To configure the folders of the receiver of the new box, you just have to go to
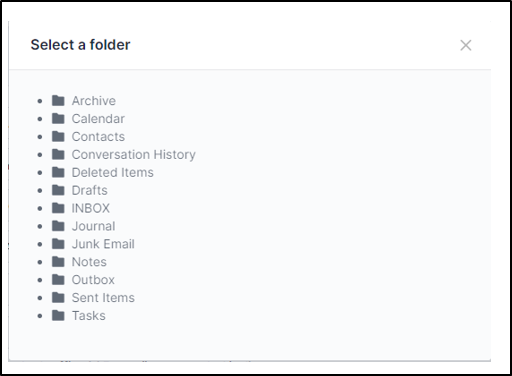
Setup>receivers - Click on the icon that corresponds to the folder that you waant to customize (incoming, archives, etc.)
The list of the delegated mailbox's folders will appear
Last update:
13/06/2023


